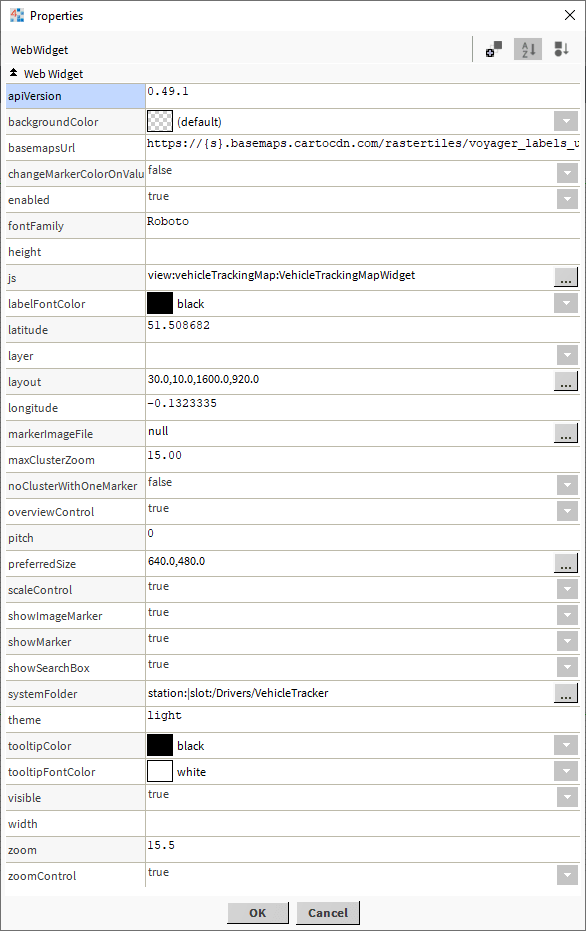
Properties
![bms map properties]()
The widget has a number of configurable properties that can be used to modify look, feel, and functionality.
Change the properties as required:
API Version
The current version when writing this document is 0.49.5. As we do not maintain the mapping images, change this value as new versions are released. The latest version value can be found here.
https://github.com/maptalks/maptalks.js/releases
Latitude/Longitude
The map will display at this location when initialised.
Pitch
The viewing angle of the map.
Overview Control, Scale Control, Zoom Control
Shows/hides the controls on the map. Set to true or false.
Zoom
The default zoom level. Default is 15.5.
Theme
Possible values light or dark.
Height/Width
Set these values to manually set the height/width of the map frame.
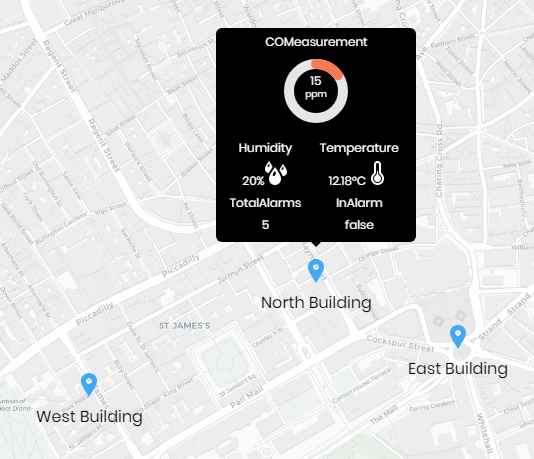
Marker Image File
Use a custom marker image file. File must exist in stations shared directory. Also set useMarkerImage property to true.
Base Maps Url - Style
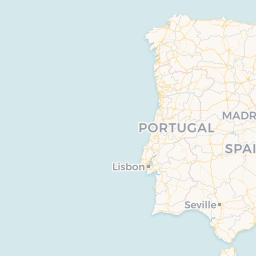
There are a few different styles you can display.
Default:
https://{s}.basemaps.cartocdn.com/rastertiles/voyager_labels_under/{z}/{x}/{y}.png
![Niagara 4 maps]()
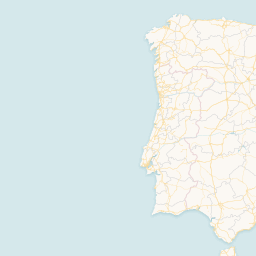
No Labels:
https://{s}.basemaps.cartocdn.com/rastertiles/voyager_nolabels/{z}/{x}/{y}.png
![Niagara 4 maps]()
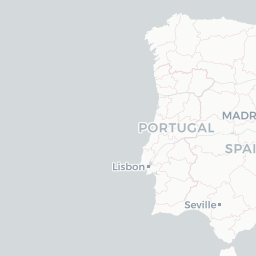
Positron w/ Labels:
https://{s}.basemaps.cartocdn.com/rastertiles/light_all/{z}/{x}/{y}.png
![Niagara 4 maps]()
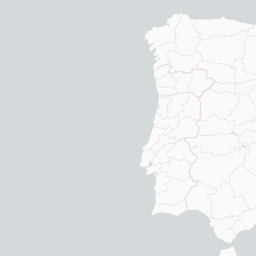
Positron without labels:
https://{s}.basemaps.cartocdn.com/rastertiles/light_nolabels/{z}/{x}/{y}.png
![Niagara 4 maps]()
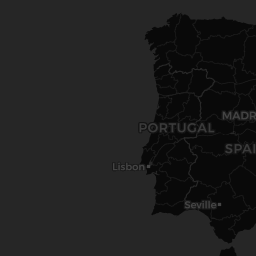
Dark with Labels:
https://{s}.basemaps.cartocdn.com/rastertiles/dark_all/{z}/{x}/{y}.png
![Niagara 4 maps]()
Dark without labels:
https://{s}.basemaps.cartocdn.com/rastertiles/dark_nolabels/{z}/{x}/{y}.png
![Niagara 4 maps]()
API Version
The current version when writing this document is 0.49.5. As we do not maintain the mapping images, change this value as new versions are released. The latest version value can be found here.
https://github.com/maptalks/maptalks.js/releases
